
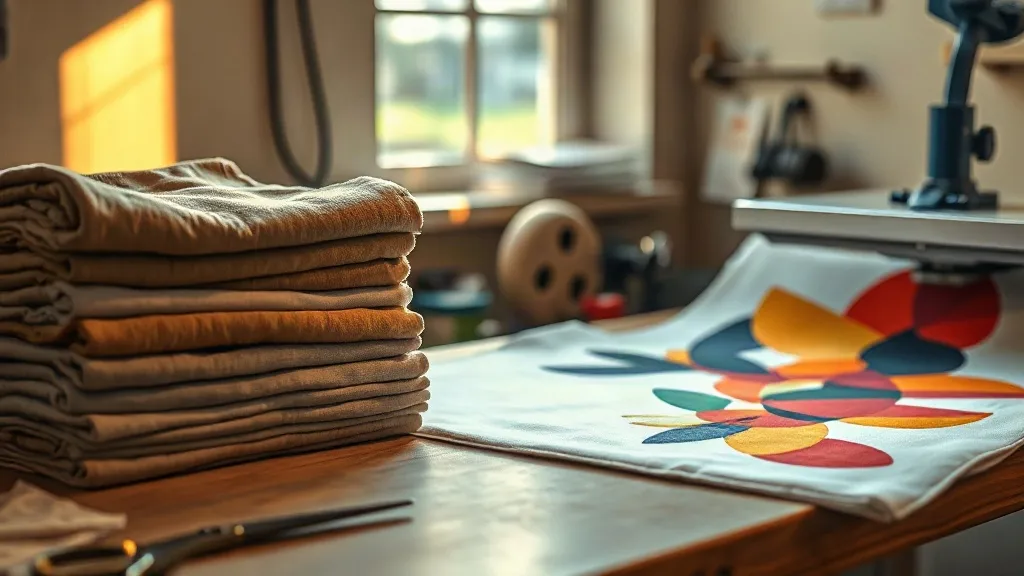
Ordering a dozen blank tees used to be the easy part of a custom apparel job. The hard part was always the print. That balance has shifted. Now the blanks you pick and the way you lay out transfers decide whether a run of shirts looks sharp or ends up in the returns bin. If you run a small print shop, a side hustle, or a team merch table, the combination of shaka wear blanks and a DTF Gangsheet Builder is worth understanding in detail, because both parts of that pairing come with quirks that show up on the press.
This guide walks through the practical side: what makes these blanks behave the way they do, how to build a gangsheet that does not waste film, what press settings actually hold up, and where people tend to go wrong. No theory dumps, just the decisions you make before a single shirt gets pressed.
Why the Blank Choice Matters More Than You Think
DTF transfers are forgiving, but they are not magic. The film adheres to the fabric, and the fabric is doing half the work. A heavyweight cotton tee with a tight knit holds detail well. A loose, slubby knit lets the adhesive sink into gaps between yarns, which is where you get that cracked, patchy look after a few washes.
This is where shaka wear earns its place in a lot of shop rotations. The line leans toward heavier cotton constructions, boxy cuts, and a feel that suits streetwear and promo work alike. Heavier fabric means less show-through of the adhesive layer, and a denser surface gives the transfer a more stable bed to bond to. If you have ever pressed a transfer onto a thin, stretchy blank and watched it wrinkle the moment the platen lifted, you know why density counts.
There is a tradeoff, though. Heavy cotton holds heat longer, so your dwell time and peel timing need adjusting compared to a lightweight poly blend. More on that below.
Fabric composition and how it reacts to heat
Cotton and cotton-heavy blends absorb moisture, and moisture is the enemy of a clean press. A blank straight out of a humid storage room can trap steam under the transfer, producing bubbles that only appear after the first wash. Pre-pressing each shirt for a few seconds before you lay the film down is not optional if you want repeatable results. It also flattens the fabric weave, which helps the adhesive grip evenly.
Poly blends behave differently. They need lower temperatures to avoid dye migration, especially on darker colors. If your order mixes cotton and poly blanks, do not run them through the same press cycle and hope for the best. Sort by fabric first, then by color.
Building a Gangsheet That Does Not Waste Film
A gangsheet is simply a large film layout that packs multiple designs into one printable area. Instead of printing one transfer at a time, you arrange everything on a single sheet, print once, and cut out what you need. The savings come from film utilization and printer time, but only if the layout is planned rather than improvised.
A DTF Gangsheet Builder handles the arrangement step so you are not dragging art around in a design program and guessing at spacing. You upload your artwork, set the size of each piece, and the builder packs them onto the sheet. The output is a print-ready file sized to your film.
Spacing, bleed, and cut lines
The most common mistake is crowding designs too close together. You need enough margin around each piece to cut cleanly without nicking a neighbor. A few millimeters of gap per side sounds wasteful until you are holding a pair of scissors at 11 p.m. trying to separate two logos that are practically touching.
Leave room for registration marks or crop guides if your workflow uses them. And think about how you will cut. Straight edges are faster than curved ones, so if a design allows for a rectangular cut boundary, take it. Rounded cuts look nicer on the shirt but cost time on every unit.
Grouping by color and size
Group similar sizes together so your cutting and pressing rhythm stays consistent. If a sheet has one 2-inch chest logo and one 11-inch back print, you will handle two very different press setups from the same film. That is fine, but plan the order so you are not bouncing between press settings. Press all the small pieces first, then reset for the large ones.
Press Settings That Actually Hold Up
Every DTF film brand publishes a temperature and time range, and every press runs a little hot or cold compared to its display. Treat published settings as a starting point, then verify with a test piece on the actual blank you plan to use. A quick test shirt saves a whole order.
For heavy cotton blanks, a typical starting range is around 300 to 320 degrees Fahrenheit for 10 to 15 seconds with medium pressure. Peel warm, not hot and not cold. If the film resists peeling or the design looks stretched, the shirt was too hot. If edges lift, it was too cool or the pressure was uneven.
- Pre-press the blank for 5 to 7 seconds to remove moisture and flatten the weave.
- Use firm, even pressure. A press with a worn platen pad will show as patchy adhesion.
- Peel at a consistent angle and speed across the whole order, not just the first shirt.
- Do a second press with a cover sheet for a few seconds to lock the edges.
Keep a log. Temperature, time, pressure, fabric type, and result. After a few weeks you will have a reference that beats any generic chart, because it reflects your press, your room humidity, and your film supplier.
Where Small Shops Lose Money
Most losses in a DTF workflow are not dramatic. They are small and repeatable. Film trimmed too generously. A sheet half-filled because the layout was rushed. A batch of transfers pressed onto blanks that were not pre-treated. Individually these cost cents. Across a hundred shirts they add up to real margin.
The fix is process discipline. Build gangsheets to near-full capacity before printing. Store finished transfers flat and dry, because film picks up moisture and dust in ways that only show up at press time. And keep blanks in a dry space, ideally in the same room where you press, so they are acclimated.
A note on storage and shelf life
DTF transfers are not indefinite. Powder and adhesive degrade with humidity and heat. If you print in bulk, seal finished sheets in a bag with a desiccant pack and store them away from direct sun. Rotate stock so older transfers go first. A transfer that sat in a damp corner for two months will press differently than one printed yesterday, and you will blame the blank when the real culprit was storage.
Matching Blanks to Design Intent
Not every design suits a heavyweight boxy tee. Fine line work and small text need a smooth, tight surface to stay legible. Large bold graphics can handle more texture. When you are choosing blanks for a run, look at the design first and pick the fabric second.
For streetwear-style drops with big back prints, the heavier cuts in the shaka wear range make sense. For corporate giveaways with small chest logos and a lot of text, a smoother, lighter blank may serve better. There is no universal best blank, only a best blank for a specific print.
If you are building a mixed order, run a sample of each fabric type before committing. Two test shirts cost less than reprinting half an order.
Frequently Asked Questions
Can I use DTF transfers on 100% cotton Shaka Wear tees?
Yes, and cotton is one of the more forgiving surfaces for DTF. The main thing to watch is moisture. Pre-press the shirt for a few seconds to drive out steam before laying the film, and peel warm rather than letting the shirt cool completely.
How full should a gangsheet be before printing?
Aim to fill most of the printable area, but leave a small margin around the edges for the printer and for clean cutting. A sheet that is 85 to 95 percent full is a good target. Overpacking to the very edge risks clipped artwork and hard-to-cut borders.
Why do my transfers crack after a few washes?
Cracking usually traces back to one of three causes: insufficient pressure during the press, peeling the film too early or too late, or pressing onto a fabric that was not pre-treated. Check pressure first, then timing, then fabric prep. A second press with a cover sheet also helps lock the edges.
Do I need different settings for light and dark shirts?
Dark poly blends can suffer from dye migration, so they often need lower temperatures and a shorter dwell. Light cotton shirts are more tolerant. Sort your order by fabric and color before pressing so you are not resetting the press for every shirt.
Is a gangsheet builder worth it for small orders?
It pays off fastest when you have several designs going on one film. For a single one-off shirt, the time saved is minor. For anything from ten shirts upward with mixed artwork, the layout savings in film and printer time usually justify it.