
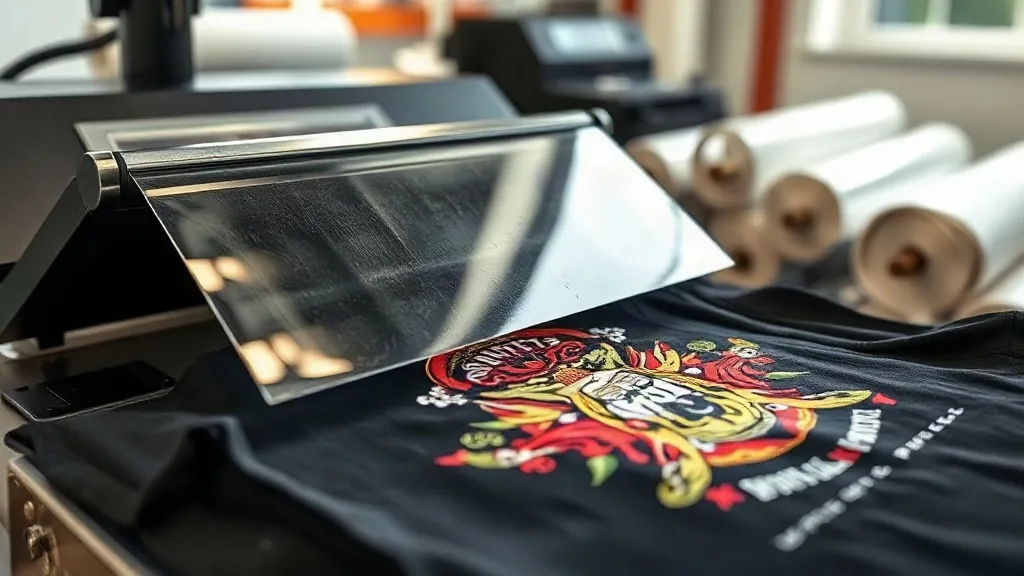
Imagine pressing a vibrant, full-color design onto a dark cotton hoodie without worrying about the fabric type or the need for multiple screens. That's the promise of dtf printing, a digital transfer method that has rapidly gained traction among crafters, small business owners, and DIY enthusiasts. Unlike traditional screen printing or vinyl cutting, dtf transfers offer a simpler workflow, stunning detail, and impressive durability. Whether you're printing a single custom t-shirt for a birthday or producing a small batch for your online shop, understanding how DTF works can open up a world of creative possibilities.
What Are DTF Transfers?
DTF stands for Direct to Film. The process involves printing a design onto a special PET film using water-based pigments, then applying a hot-melt adhesive powder to the wet ink. After the powder is cured, the film is ready to be heat-pressed onto a garment. The adhesive melts and bonds the ink to the fabric, creating a flexible, stretchable print that feels soft to the touch. Because the design is printed digitally, you can achieve photographic detail, gradients, and fine lines that would be challenging with other methods. And unlike DTG (Direct to Garment), which requires pre-treatment and works best on cotton, DTF adheres well to cotton, polyester, blends, and even leather or nylon.
Why DTF Transfers Are Gaining Popularity
Several factors make DTF a compelling choice for both beginners and seasoned pros. First, the cost of entry is relatively low. You don't need a warehouse full of screens or a dedicated DTG printer; a decent DTF printer and a heat press are the main investments. Second, the workflow is streamlined: print, powder, cure, press. There's no weeding, no masking, and no color limitations. Third, the prints are incredibly durable. When applied correctly, a DTF transfer can withstand dozens of washes without fading or cracking. Finally, DTF allows for unlimited color combinations without the setup fees associated with screen printing, making it ideal for small runs and personalized items.
Cost-Effective for Small Businesses
For a small apparel business, every dollar counts. Screen printing requires separate screens for each color, which adds up quickly for multi-color designs. DTF eliminates that expense. You can print a full-color design on a single film and press it onto a shirt. This makes short runs and one-off custom orders profitable. Additionally, you can gang multiple designs onto one film to maximize efficiency, reducing waste and material costs.
Versatility Across Fabrics
One of the biggest headaches in apparel decoration is matching the right technique to the fabric. Vinyl doesn't stick well to stretchy materials, DTG struggles with polyester, and screen printing can be tricky on dark garments. DTF sidesteps these issues. It bonds to cotton, polyester, cotton-poly blends, spandex, denim, canvas, and more. This versatility means you can offer a wider range of products to your customers without investing in multiple decoration methods.
How to Apply DTF Transfers: Step by Step
Applying a DTF transfer is straightforward, but following the right steps ensures a professional result. Here's a breakdown of the process:
- Preheat the garment: Set your heat press to the recommended temperature (usually 300-340°F or 150-170°C). Prepress the garment for 5-10 seconds to remove moisture and wrinkles.
- Position the transfer: Place the DTF film onto the garment with the printed side facing up. If your design has a white underbase, it will be on the bottom; the film is transparent, so you can see through it for accurate placement.
- Press: Apply medium to firm pressure for 10-15 seconds. The exact time and temperature can vary by film manufacturer, so always check the instructions.
- Peel: Wait a few seconds for the transfer to cool slightly, then peel the film off in a smooth, consistent motion. If you peel too hot, the design might stretch; if too cold, it might crack. Most DTF films are designed for a warm peel.
- Post-press (optional): For extra durability, cover the design with a Teflon sheet or parchment paper and press again for 5-10 seconds. This helps the adhesive fully set.
After pressing, allow the garment to cool completely before wearing or washing. Wait at least 24 hours before the first wash, and turn the garment inside out to protect the print.
Common Mistakes to Avoid with DTF Transfers
Even though DTF is forgiving, some pitfalls can ruin your results. Here are a few to watch for:
- Insufficient pressure: If the pressure is too light, the transfer won't adhere properly, leading to premature peeling. Adjust your heat press until you feel firm resistance.
- Wrong temperature: Too hot and the film may curl or the ink may scorch; too cold and the adhesive won't melt. Invest in an infrared thermometer to verify your press temperature.
- Peeling too soon or too late: Follow the film's peel recommendations. Most DTF films are warm peel, but some are cold peel. Test a small piece first.
- Not pre pressing: Skipping the pre-press can trap moisture, causing bubbles or poor adhesion. Always prepress.
- Using too much powder: When making your own transfers, excess adhesive powder can create a rough texture. Shake off the excess gently before curing.
DTF vs. Other Printing Methods
How does DTF stack up against screen printing, DTG, and vinyl? Let's compare:
- Screen printing: Best for large orders with few colors; DTF wins for detailed, multi-color designs and small runs.
- DTG: Great for 100% cotton, but requires pre-treatment and struggles with polyester; DTF works on almost any fabric without pre-treatment.
- Vinyl: Ideal for simple one-color designs and numbers; DTF handles complex graphics and gradients with ease.
Each method has its place, but DTF's versatility and low setup cost make it a strong contender for a wide range of projects.
Getting Started with DTF Printing
If you're ready to dive into DTF, here's what you'll need:
- DTF printer: Options range from entry-level to industrial. Look for one that uses pigment inks and has a white ink channel.
- DTF film: Choose a reputable brand; cheap film can cause jamming or poor ink adhesion.
- Adhesive powder: Usually TPU-based, available in fine or medium grain.
- Curing oven or heat gun: To melt the powder. A dedicated curing oven gives more consistent results.
- Heat press: A reliable press with accurate temperature and pressure control.
- Design software: Any vector or raster program works; just ensure your printer's RIP software can handle the file.
Start with a few test prints on different fabrics to dial in your settings. Join online communities to learn from others' experiences and troubleshoot issues.
Frequently Asked Questions About DTF Transfers
How long do DTF transfers last?
With proper application and care, DTF transfers can last 50+ washes. The key is following the pressing instructions and washing the garment inside out in cold water. Avoid bleach and high heat in the dryer.
Can I use DTF transfers on dark colors?
Absolutely. DTF prints include a white underbase, so colors remain vibrant on dark fabrics. You don't need to adjust your design for dark garments.
Do I need special ink for DTF?
Yes, DTF uses water-based pigment inks specifically formulated for the process. These inks are different from those used in DTG or sublimation. Using the wrong ink can clog your printer or produce poor results.
What fabrics work best with DTF?
DTF adheres well to cotton, polyester, blends, spandex, denim, canvas, and even leather. It's one of the most versatile decoration methods available.
Can I print DTF transfers at home?
Yes, many people start with a desktop DTF printer. You'll also need a heat press and a curing method. It's a great option for small businesses or hobbyists.
DTF transfers have democratized custom apparel printing, making it accessible to anyone with a creative vision. By understanding the process, avoiding common mistakes, and choosing the right equipment, you can produce professional-quality garments that impress customers and friends alike. So why not give it a try? Your next custom creation could be just a press away.