
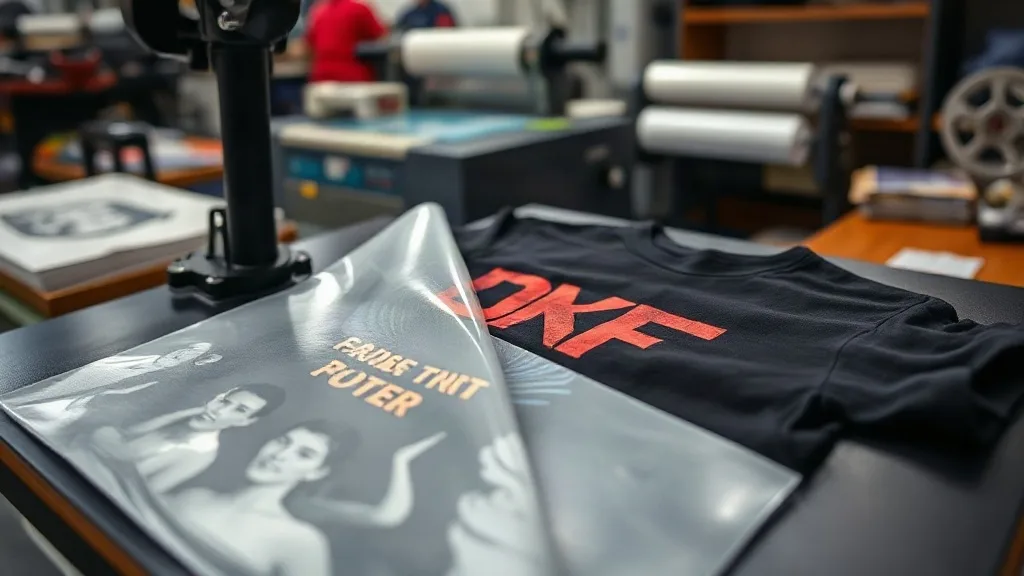
If you've been in the custom apparel game for any length of time, you've likely heard the buzz around DTF transfers. This technology has taken the printing world by storm, offering a versatile and cost-effective way to produce vibrant, durable designs on a wide range of fabrics. Whether you're a seasoned pro or just starting out, understanding DTF transfers can open up new possibilities for your business. In this guide, we'll walk you through the essentials of DTF printing, from what it is to how you can use it to create stunning products that your customers will love.
What Are DTF Transfers?
DTF stands for Direct to Film. It's a printing method where your design is printed onto a special film, then coated with a powder adhesive, and finally transferred onto fabric using a heat press. Unlike DTG (Direct to Garment) printing, which requires pre-treatment and works best on cotton, DTF can adhere to almost any fabric, including polyester, blends, and even nylon. This flexibility makes it a game-changer for printers who want to offer a diverse range of products without investing in multiple printing technologies.
The process begins with a digital printer that lays down CMYK inks plus white ink onto a PET film. The white ink layer is crucial because it provides opacity, allowing your design to show up vividly on dark or colored garments. After printing, the film is dusted with a hot-melt adhesive powder, which is then melted into the ink using a heat source. The result is a transfer that can be stored and later applied to fabric with a heat press. The entire workflow is relatively simple, but attention to detail at each step ensures professional-quality results.
Why Choose DTF Transfers?
There are several reasons why dtf transfers have become a favorite among apparel decorators. First and foremost is their versatility. Because DTF doesn't require pre-treatment and works on nearly any fabric, you can print on everything from 100% cotton t-shirts to polyester jerseys and even canvas bags. This means you can expand your product offerings without buying new equipment or learning a completely new process.
Another advantage is the cost-effectiveness for small to medium orders. Setting up DTF printing has a lower barrier to entry compared to other methods like screen printing, which requires separate screens for each color. With DTF, you can print full-color designs in one go, making it ideal for short runs and personalized items. Additionally, DTF transfers have excellent durability. When applied correctly, they withstand repeated washing without cracking, peeling, or fading, which is a common concern with other transfer methods.
Moreover, DTF allows for high levels of detail and vibrant colors. The white ink base ensures that colors pop even on dark garments, and the technology supports intricate designs with fine lines and gradients. This makes it suitable for photographic prints, complex illustrations, and text with small fonts. For businesses looking to offer custom apparel with a professional finish, DTF is a compelling choice.
How to Apply DTF Transfers
Applying a DTF transfer is straightforward, but following the correct steps is key to achieving a lasting, professional result. Here's a step-by-step guide to help you get started.
Step 1: Prepare Your Heat Press
Set your heat press to the recommended temperature, typically around 300°F to 325°F (150°C to 160°C). Preheat the press for a few minutes to ensure even temperature. It's also a good idea to use a Teflon sheet or parchment paper to protect your press and the transfer.
Step 2: Position the Transfer
Place your garment on the press platen, making sure it's flat and free of wrinkles. If needed, pre-press the garment for a few seconds to remove moisture. Then, position the DTF transfer onto the fabric with the printed side facing up. The adhesive side should be in contact with the fabric.
Step 3: Press the Transfer
Cover the transfer with a Teflon sheet or parchment paper. Apply medium to firm pressure for about 10-15 seconds. The exact time and pressure may vary depending on the transfer supplier and fabric, so always refer to the instructions provided with your transfers.
Step 4: Peel the Film
After pressing, allow the transfer to cool completely before peeling off the film. This is known as a cold peel. Peeling while hot can cause the design to stretch or tear. Once cooled, peel the film smoothly in one continuous motion.
Step 5: Post-Press (Optional)
For added durability, you can cover the design with parchment paper and press again for another 5-10 seconds. This helps the adhesive fully bond with the fabric.
Common Mistakes to Avoid
Even though DTF is user-friendly, some common pitfalls can affect the quality of your finished product. Here are a few to watch out for:
- Insufficient pressure: If the pressure is too light, the transfer may not adhere properly, leading to peeling. Make sure your press is adjusted correctly.
- Wrong temperature: Too high heat can scorch the fabric or cause the transfer to become glossy and stiff. Too low heat results in poor adhesion. Always use a temperature gun to verify.
- Peeling too soon: Patience is key. Peeling while the transfer is still warm can ruin the design.
- Not pre-pressing the garment: Moisture in the fabric can create steam and prevent proper adhesion. Always pre-press to remove moisture.
Choosing the Right DTF Transfers
When sourcing dtf transfers, quality matters. Not all transfers are created equal. Look for suppliers that use high-quality inks and films, and that provide clear instructions. If you're searching for dtf transfers near me, consider local suppliers for faster turnaround, but also evaluate online options for cost and variety. Many reputable companies offer sample packs so you can test the quality before committing to a larger order.
Another factor to consider is the type of film. Some films are designed for hot peel, while others require cold peel. Make sure you know which type you're using to avoid mistakes. Additionally, check the shelf life of the transfers; most have a shelf life of about six months to a year when stored properly in a cool, dry place.
DTF vs. Other Printing Methods
To truly appreciate DTF, it helps to compare it with other common printing methods. Here's a quick breakdown:
- DTF vs. DTG: DTG requires pre-treatment and works best on 100% cotton. DTF works on almost any fabric and doesn't need pre-treatment, but DTF transfers have a slightly thicker hand feel.
- DTF vs. Screen Printing: Screen printing is more cost-effective for large orders of simple designs, but DTF is better for complex, multi-color designs and short runs.
- DTF vs. Vinyl: Vinyl is limited to simple shapes and solid colors, while DTF can handle full-color photographs and gradients.
Each method has its strengths, but DTF's versatility and low setup cost make it a valuable addition to any print shop's offerings.
Frequently Asked Questions
Can I use DTF transfers on dark-colored shirts?
Absolutely. DTF transfers include a white ink layer that provides a bright, opaque base, so your design will stand out vividly on dark fabrics. This is one of the key advantages of DTF over other methods that may require a white underbase.
How long do DTF transfers last?
When applied correctly and cared for properly, DTF transfers can last as long as the garment itself. They are resistant to cracking, peeling, and fading. To maximize longevity, wash the garment inside out in cold water and avoid ironing directly over the design.
What fabrics work best with DTF?
DTF works on a wide range of fabrics, including cotton, polyester, blends, nylon, and even leather. It's not recommended for fabrics with heavy textures or coatings, as the transfer may not adhere properly. Always test on a small area first.
Do I need a special printer for DTF?
Yes, DTF printing requires a printer that uses DTF inks and a film. However, if you don't want to invest in a printer, you can purchase pre-printed DTF transfers from suppliers and apply them with a standard heat press. This is a great way to get started without a large upfront investment.
How should I store DTF transfers?
Store DTF transfers in a cool, dry place away from direct sunlight. Keep them in their original packaging or in a dust-free container. Avoid folding or creasing the transfers, as this can damage the ink layer. Properly stored transfers can last up to a year.