
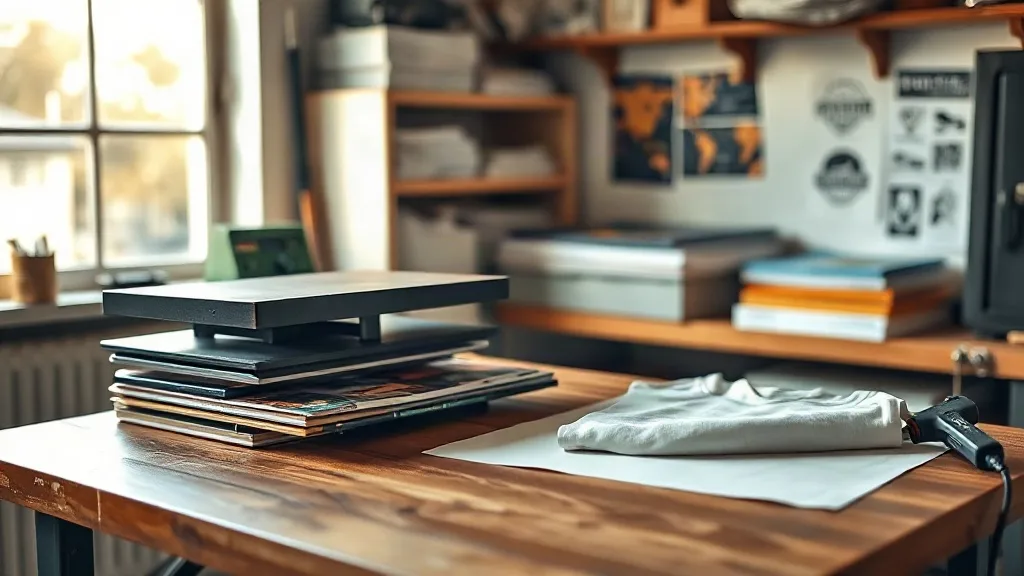
When I added apparel to my print menu three years ago, I assumed I would eventually buy a second printer, a heat press, and a corner of the garage dedicated to curing powder. What actually happened was simpler. A local shop down the road ran a dtf transfers operation out of a converted garage, and I started ordering gang sheets from them every Tuesday. That arrangement taught me more about garment printing than any course I paid for, mostly because I made every mistake in the book before I figured out what mattered.
This guide is what I wish someone had handed me on day one. It covers how dtf actually works, where shops go wrong, and how to judge a supplier before you commit to a bulk order. No sales pitch, just the operational reality of running transfers through a small shop.
What DTF Actually Is, Without the Marketing Language
Direct-to-film printing works by printing a design onto a coated plastic film, then applying a hot-melt adhesive powder to the wet ink before it dries. The powder fuses with the ink, the film gets cured, and the result is a flexible transfer sheet you can press onto fabric weeks or months later.
The reason this matters for a small shop is the fabric range. Screen printing struggles with polyester blends and nylon. Vinyl cutting is fine for simple one-color work but falls apart on gradients. DTF presses onto cotton, poly, blends, canvas, denim, and even some treated nylons, and it handles photographic gradients and fine detail without the setup cost of a screen per color.
There is a catch, and it is worth saying plainly: DTF is not the cheapest method per unit at high volume. If you are printing two thousand identical one-color shirts, screen printing will beat it on price every time. DTF wins on short runs, multi-color designs, and jobs where the customer wants twelve pieces in four different garment styles.
The Equipment You Actually Need
If you are buying transfers from a supplier rather than printing your own, the equipment list is short. A decent heat press is the only real requirement, and it needs to be a good one.
- A heat press that holds temperature accurately. Cheap presses drift by ten or fifteen degrees, which is enough to cause adhesion failures on polyester.
- A silicone or Teflon sheet for the press platen, plus a protective sheet for pressing over the transfer.
- A teflon pillow or a folded towel for pressing over seams, zippers, and collar areas.
- A digital thermometer or infrared gun to verify the platen temperature, because the dial on most presses lies.
- Pressure testing strips or simply a consistent method of setting pressure by feel.
If you are printing your own film, you add a DTF printer, a powder shaker, and a curing oven or a dedicated curing station. That is a real capital investment, and it only makes sense once your transfer volume justifies it. Most shops I know started by ordering from a supplier and only brought printing in-house after six months of steady orders.
Press Settings That Actually Work
Every supplier publishes recommended settings, and those recommendations are the right starting point. They are rarely the right ending point. Fabric composition changes everything.
Cotton and Cotton Blends
For a standard 100% cotton tee, I press at 300 to 320 degrees Fahrenheit for 12 to 15 seconds with medium-heavy pressure. Peel cold or warm depending on the film type, then do a second press of 5 seconds with a protective sheet to lock the edges. Skipping the second press is the single most common cause of transfers lifting at the corners after a few washes.
Polyester and Performance Fabrics
Polyester is where shops get into trouble. The fabric can scorch, and the dye in dark polyester can sublimate into the transfer adhesive over time. Drop the temperature to around 280 to 300 degrees, press for 10 to 12 seconds, and use a lower pressure. For dark polyester, consider a poly-blocker underlayer or a transfer film designed specifically for sublimation-prone fabrics.
Seams, Pockets, and Collars
Flat pressing is easy. Pressing a design that crosses a pocket seam or a zipper is where transfers fail. Use a teflon pillow underneath the garment so the seam sits level with the rest of the fabric, and press slightly longer to account for the uneven surface. For zippers, press around the hardware rather than over it, and finish the edges with a small craft press if you have one.
Judging a Supplier Before You Order in Bulk
This is where most of the value in this article lives, because the transfer itself is only as good as the shop that printed it. A poorly cured film will crack, peel, or leave a plasticky hand feel no matter how good your press is.
When someone searches for dtf transfers near me, they are usually looking for speed and local pickup, which is reasonable. But proximity should not be the only filter. Here is what I check before placing a real order.
- Ask for a sample sheet. Any serious supplier will send a small sample with a mix of fine detail, solid color blocks, and small text. Press it onto a scrap shirt and wash it three times before you judge it.
- Look at the powder coverage. Hold the film up to a light. Uneven powder distribution shows as patchy matte areas. That is a curing problem waiting to happen.
- Check the film backing. A quality film peels cleanly without taking ink with it. If the backing tears or leaves residue, the release coating is inconsistent.
- Ask about ink and powder brands. A supplier who cannot tell you what ink they use is probably buying the cheapest available, and that shows up in wash durability.
- Test turnaround under pressure. Place a small rush order and see whether the promised date holds. Transfer suppliers live or die on reliability, and a shop that misses a Tuesday deadline will miss a Friday deadline too.
Wash Durability and What Customers Expect
Customers do not read care labels. They wash shirts inside out, sometimes in hot water, sometimes with a load of towels. Your transfer needs to survive that.
A properly pressed DTF transfer on cotton typically holds up through thirty to fifty wash cycles before noticeable fading, and the edges stay intact if the second press was done correctly. On polyester, expect slightly less, especially with dark dyes. Set expectations honestly with customers: recommend cold washing inside out and tumble drying low or hanging to dry. Most people follow that advice if you tell them once at the point of sale.
If a customer comes back with a peeling transfer, do not immediately blame the film. Check the press temperature, check whether the garment was washed before pressing (residual sizing interferes with adhesion), and check whether the second press was skipped. In my experience, roughly nine out of ten failures trace back to pressing rather than the transfer itself.
Pricing and When to Bring It In-House
Supplier pricing for gang sheets varies widely, but the math is straightforward. A letter-size sheet holding several small designs might cost a few dollars, and that cost spreads across however many pieces you fit on it. The margin comes from efficient nesting and from charging for the garment and labor rather than the transfer alone.
The break-even point for buying your own printer depends on your monthly volume, your local labor costs, and how much you value your time. As a rough guide, shops printing more than a few hundred transfers a month often find in-house printing cheaper within a year, while shops below that threshold usually do better ordering from a supplier and putting their capital into garments and marketing.
Frequently Asked Questions
Can I press DTF transfers onto 100% polyester without scorching it?
Yes, but lower the temperature to around 280 to 300 degrees Fahrenheit and reduce pressure. Use a protective sheet over the transfer and keep the press time short. Test on a scrap piece of the same fabric first, since dye lots and fabric weights vary between suppliers.
How long should I wait before washing a freshly pressed DTF shirt?
Wait at least 24 hours. The adhesive continues to set as it cools and settles into the fabric weave. Washing immediately after pressing is one of the most common reasons transfers lift at the edges.
Why does my transfer look glossy or plasticky after pressing?
That usually means too much heat or too much pressure, which flattens the ink into a solid film. Drop the temperature by ten degrees and reduce pressure slightly. A brief second press with a protective sheet can also help soften the hand feel.
Do I need a special press for DTF, or will a household iron work?
A household iron can work in an emergency, but it is unreliable for production. Irons do not hold consistent temperature or pressure across the whole design, which causes patchy adhesion. For anything you are selling, use a proper heat press.
How do I store unused transfers?
Keep them flat, dry, and out of direct sunlight. Stack them with the film side facing up and avoid folding, since creases in the film can transfer into the print. Most transfers remain usable for several months when stored properly.